Email Services/Zimbra User Documentation/Treo with VersaMail 2
Jump to navigation
Jump to search
These procedures are know to work with the following devices:
- Treo 650
- Treo 755
Connect to Zimbra using Versamail
- Open Versamail on your Treo. Select the tab at the top left of the versamail screen to bring up the menus. Go to Accounts and choose account setup.
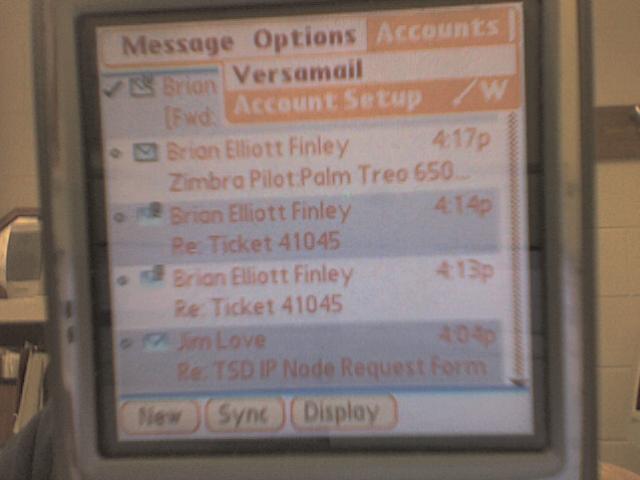
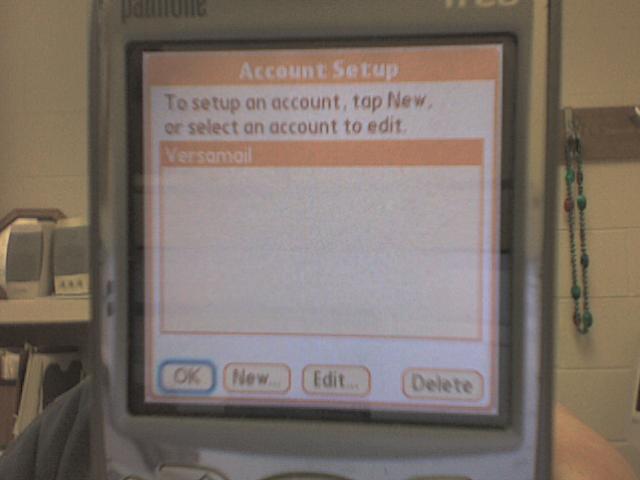
- Either highlight the Versamail account and choose edit, or create a new account by choosing new.
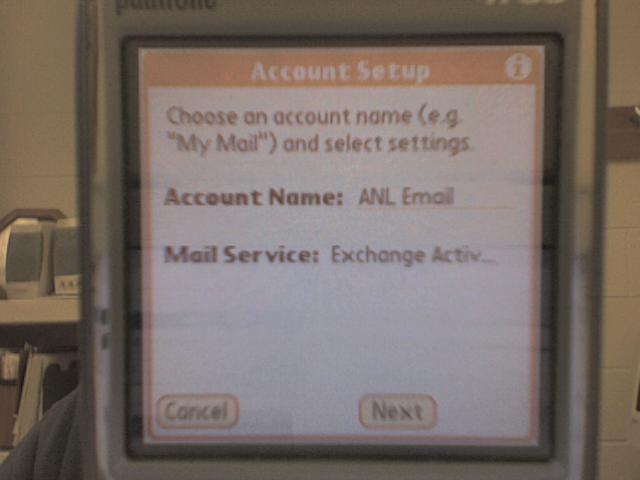
- Name the account whatever you like, and choose Exchange ActiveSync as the Mail Service. Click next when done.
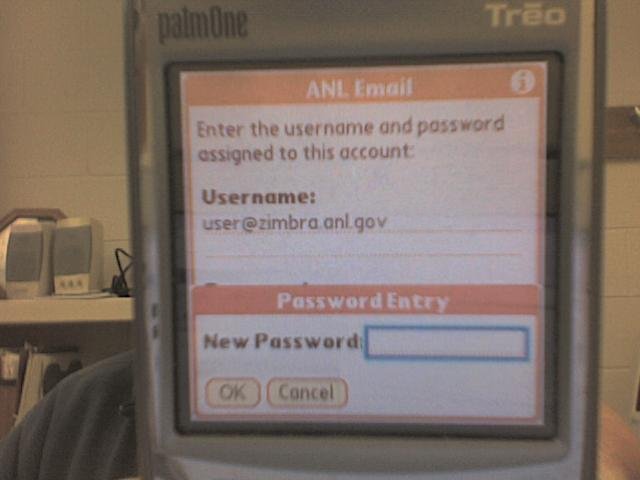
- Enter your Zimbra Account Username. This is usually in the form [email protected]. then click the password box and type in your password. Click next when done.
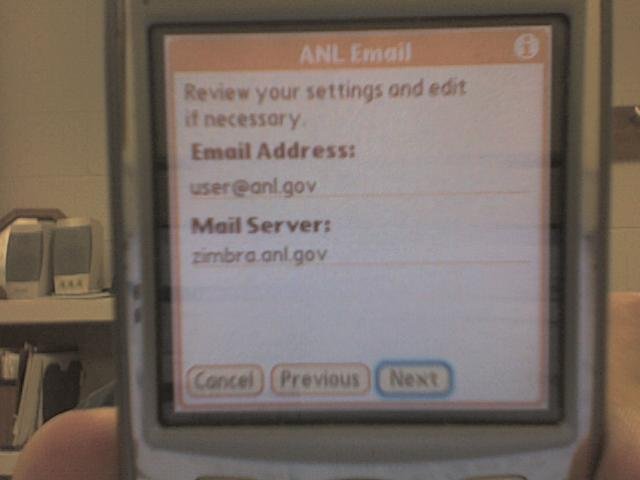
- Enter your email address as you would like it to appear when you reply to messages. Also enter your mail server, which should be zimbra.anl.gov. Click Next
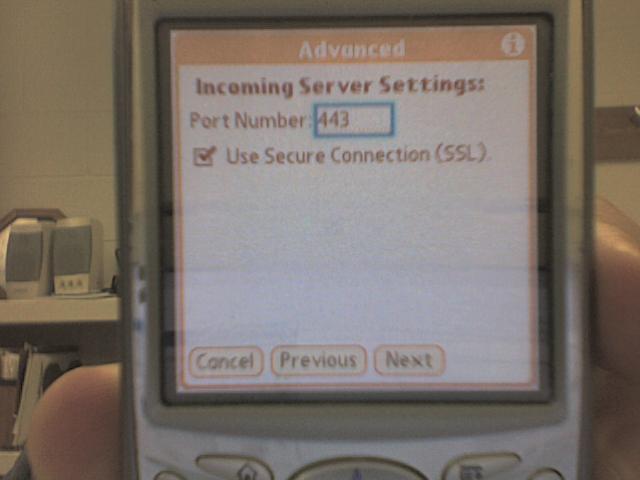
- Click the advanced button, then enter 443 as the port number and check the "Use Secure Connection (SSL)" Box. Click Previous When you are done.
- Back at the prior screen, click the "Test Settings" Button. you should get a "Success" message.
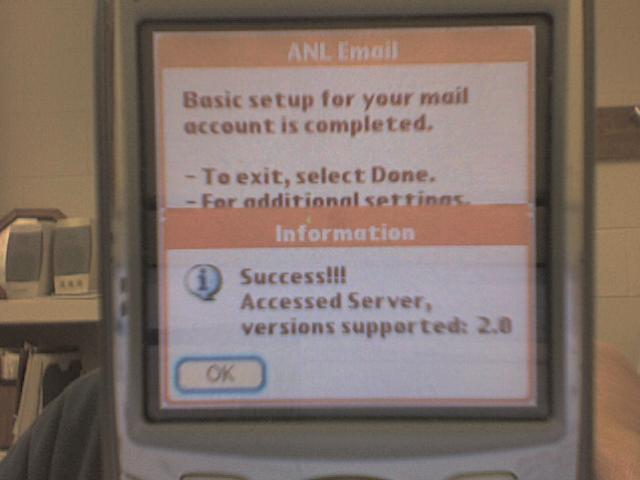
- If you do not get a "Success" message, use the previous buttons to step back through the setup and verify your user, password, and server settings.
- If you do get a "Success" message, go ahead and click done.
Note: Depending on how your Treo was configured before, you may recieve a message saying Email and calendar info must be deleted on your device. This is by design to eliminate duplicate messages, so say yes to this request.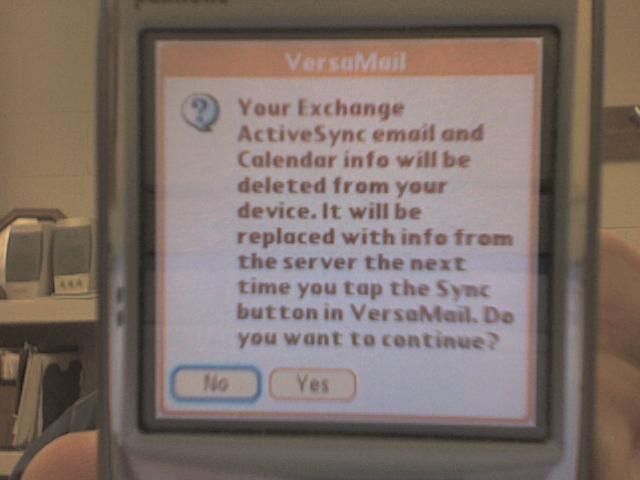
Custom Settings
Below are some recommended, but not required, configuration settings for your Treo Mail account.
- Select the tab at the top left of the versamail screen to bring up the menus, choose the options menu, then preferences.
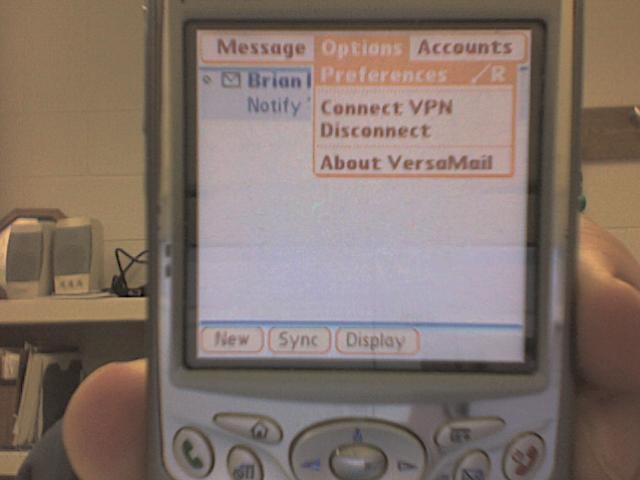
- Under the "server" setting, UNCHECK the "delete mail on server after deleting from versamail" button. This is highly recommended to prevent the loss of mail from your Zimbra Mailbox.
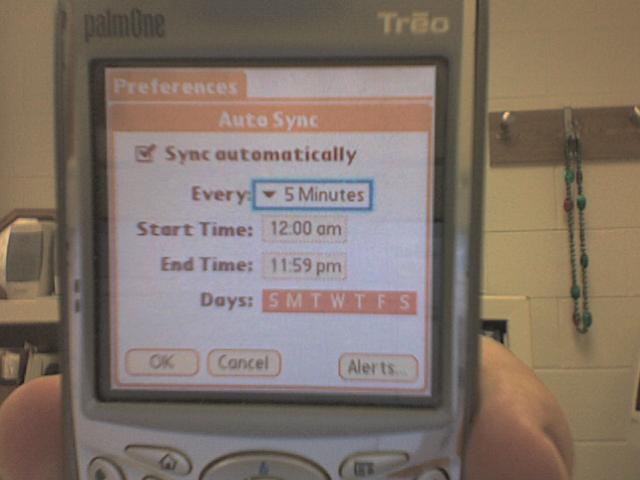
- Under the "AutoSync" setting, set the frequency and times you would like your Treo to check your mailbox for new information. The picture shows settings for every 5 minutes, just remember that the more frequently you check for messages, the more frequently you will have to charge your device
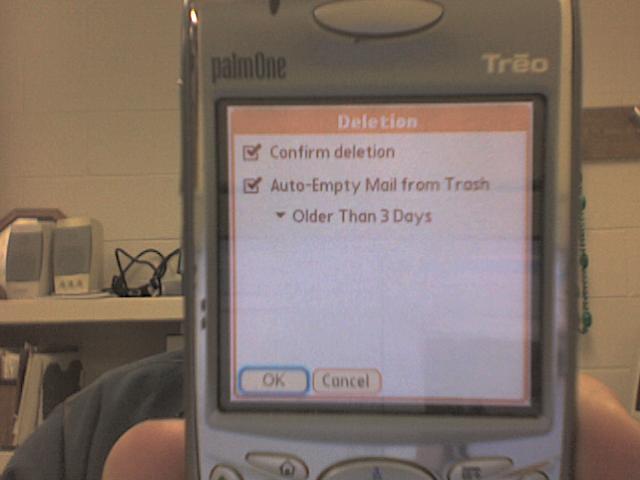
- Under the "Deletion" setting, check the options you would prefer. it is recommended that you clean out items in your trash at least once a week
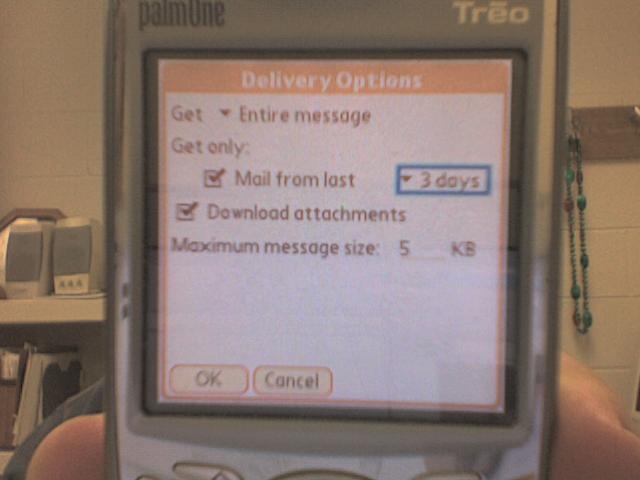
- Under the "Delivery Options" setting, choose from how long ago and how large of attachments to download. choosing a small maximum message size will help keep the treo from filling up. You can always download a larger attachment manually by opening the message in versamail and clicking on the attachment. The "Mail From Last" setting is really only relevant during your first connection and if you have gone long periods of time without downloading. To ensure speedier downloads, I would recommend no more than 1 week unless absolutely necessary.
