Email Services/Zimbra User Documentation/FAQ/HOWTO Share Your Calendar
Sharing Your Calendar
Via the Web Client
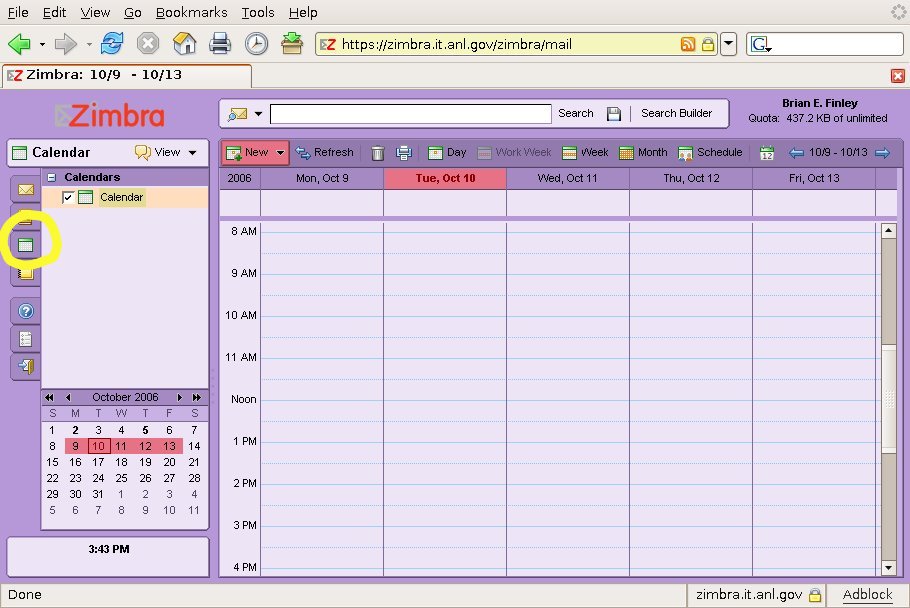
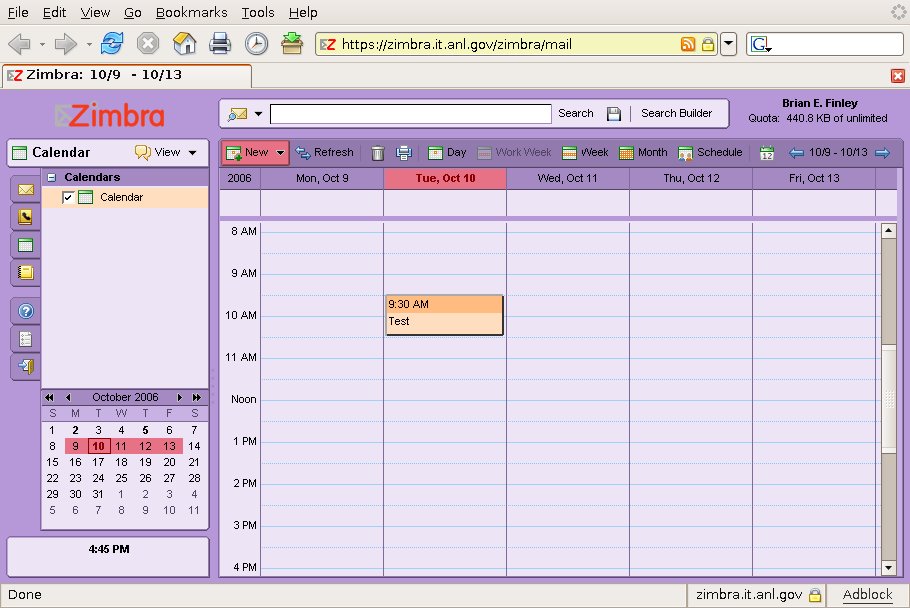
1. After logging in to the web client, click the calendars tab on the left.
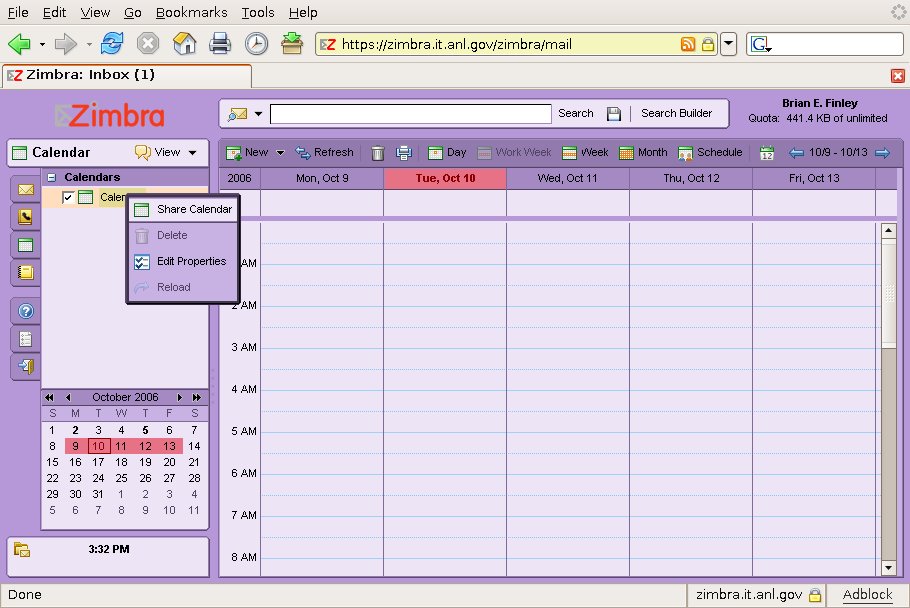
2. Right-click or option-click on the calendar you want to share, and select "Share".
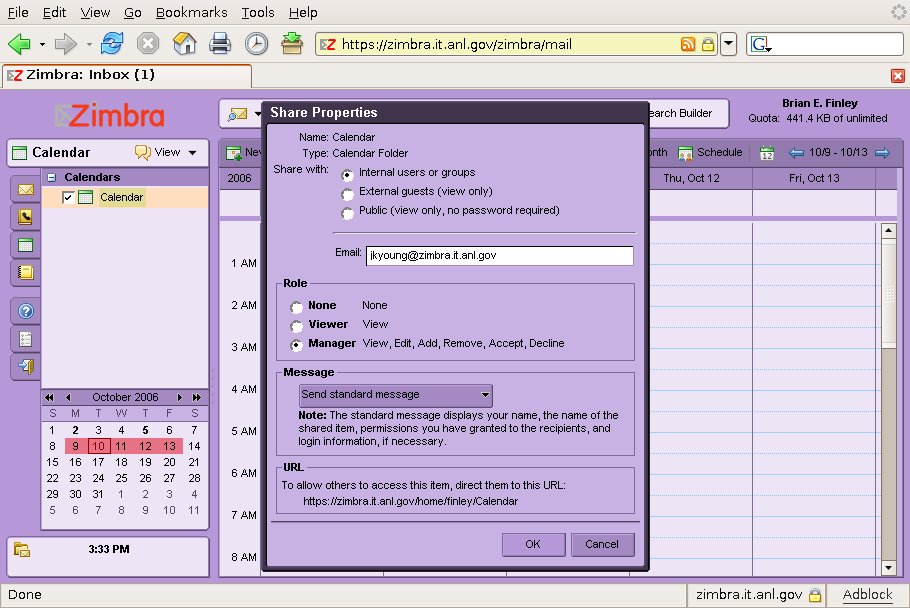
3. To give someone else privileges to manage your calendar, type their full Zimbra email address in the Email: box and choose Manager in the Role section. In this example, Brian Finley is giving Jo Young "Manager" privileges to his primary calendar.
Notes:
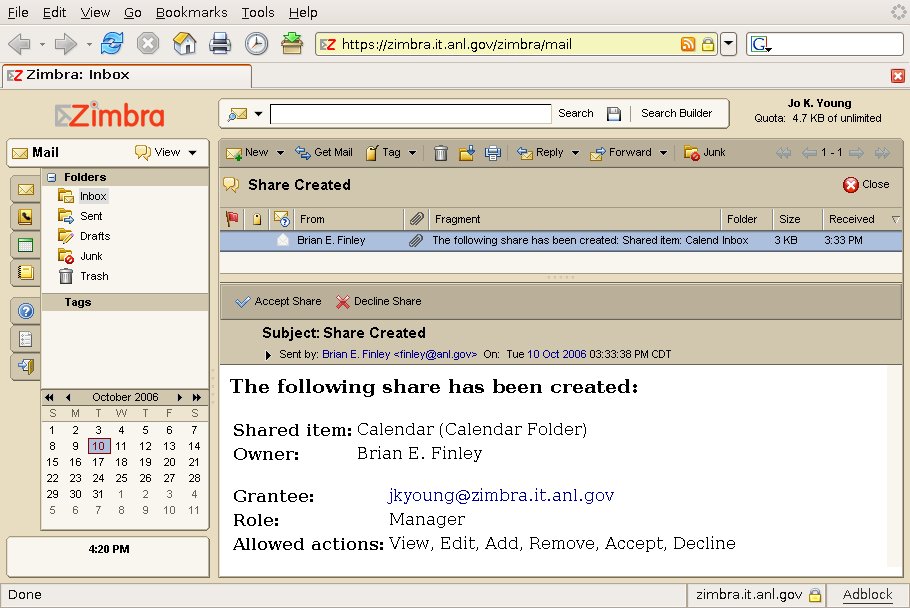
- In the Message section of the Share Properties dialog box, the "Send standard message" option will send mail to the person specified in the Email box with an invitation to manage your calendar. See the "Working with Someone Else's Shared Calendar" section for details on what this looks like from the other person's perspective.
Via the Web Client
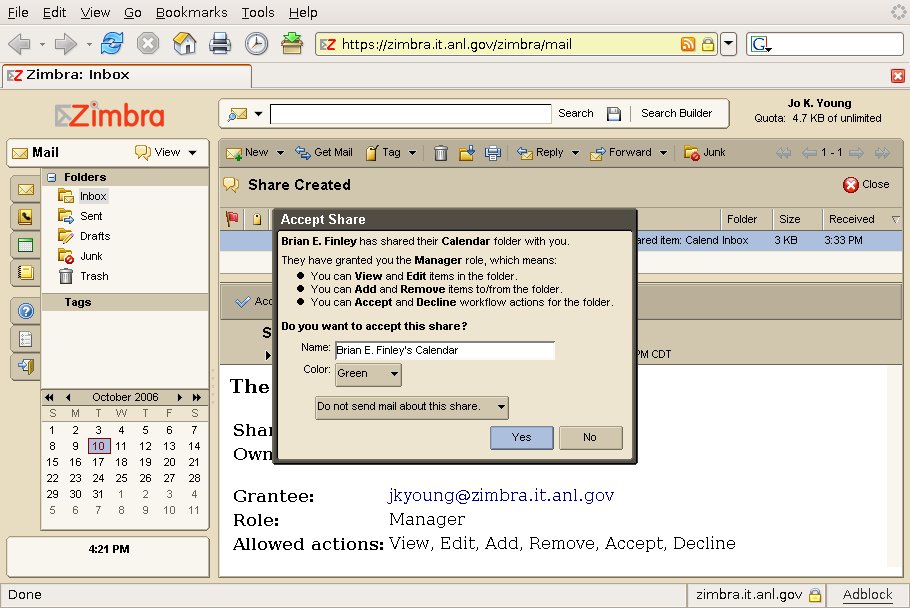
1. After someone has shared their calendar with you, you should receive an email from them in your Zimbra account.
2. Click on the Accept Share button, choose a name and color for the calendar, and click Yes.
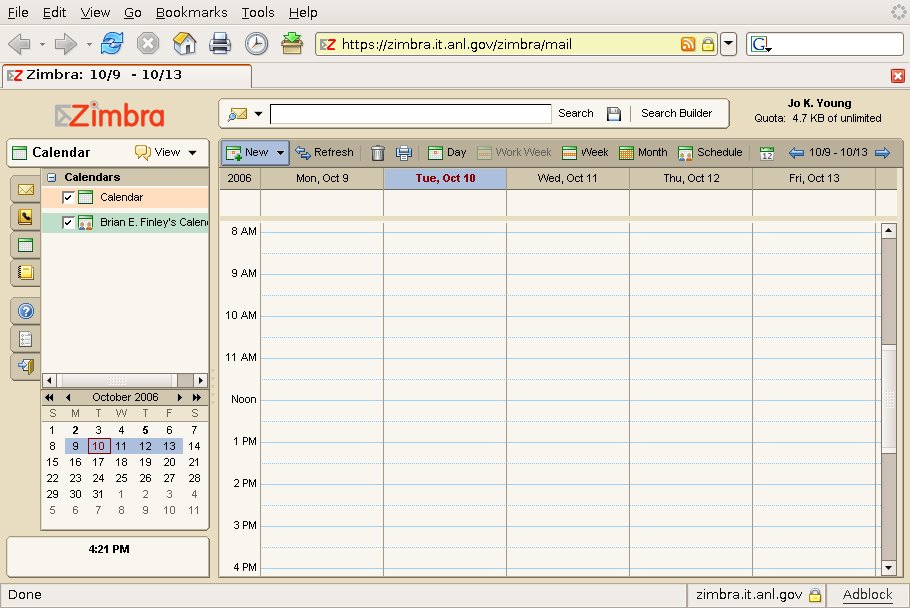
3. You will now see the shared calendar in your Calendars list with the name and color that you chose.
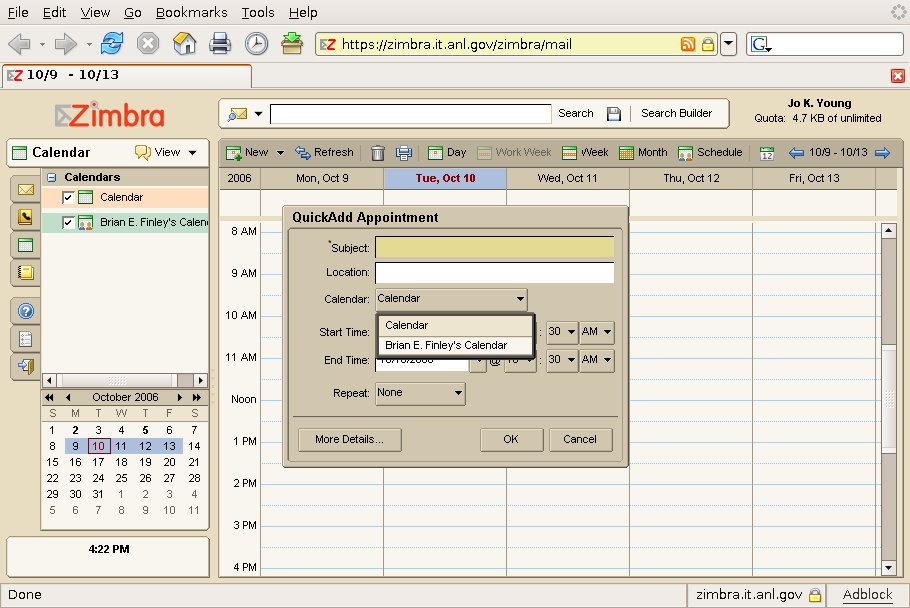
4. Now, when you go to add an appointment, you can choose which Calendar should hold it.
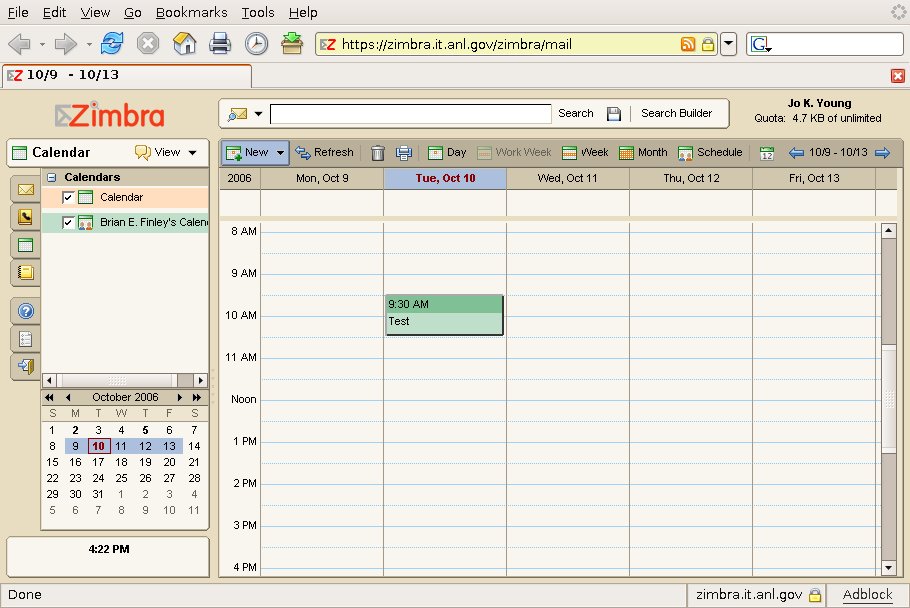
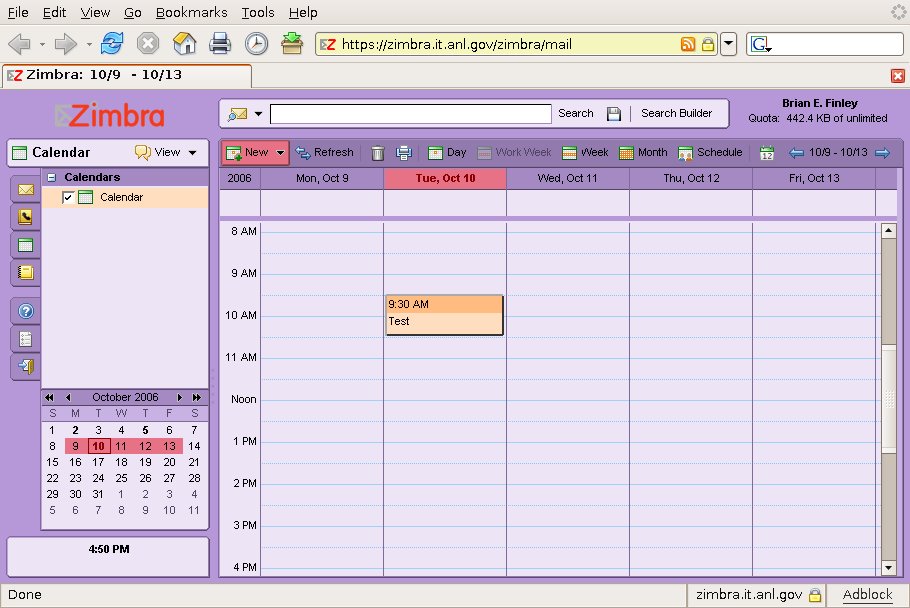
5. The new appointment will have the same color as the calendar that holds it.
6. And finally, when the calendar owner re-checks their calendar, the new appointment will be there. Note that on the owner's calendar, the appointment is in the color that the owner chose for the calendar.
Via the Web Client
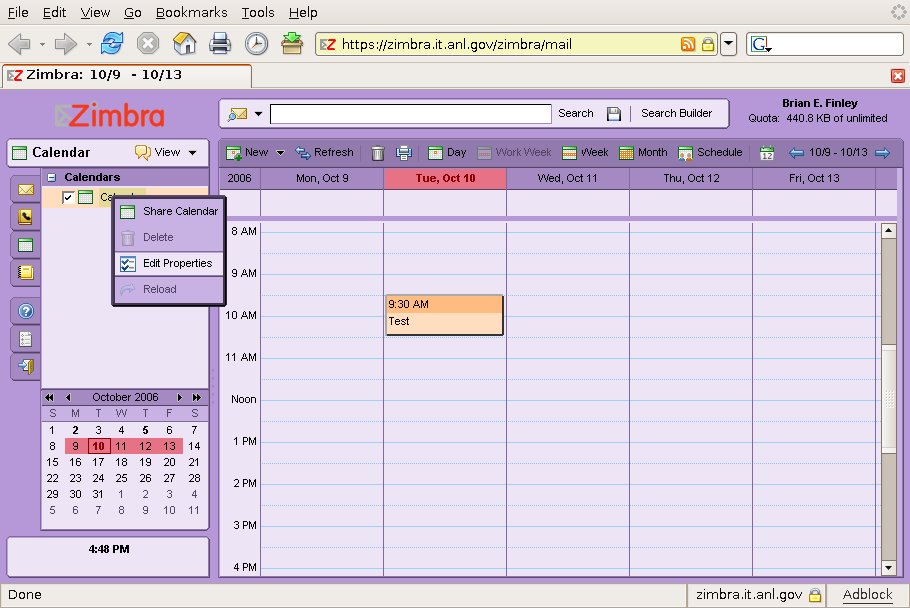
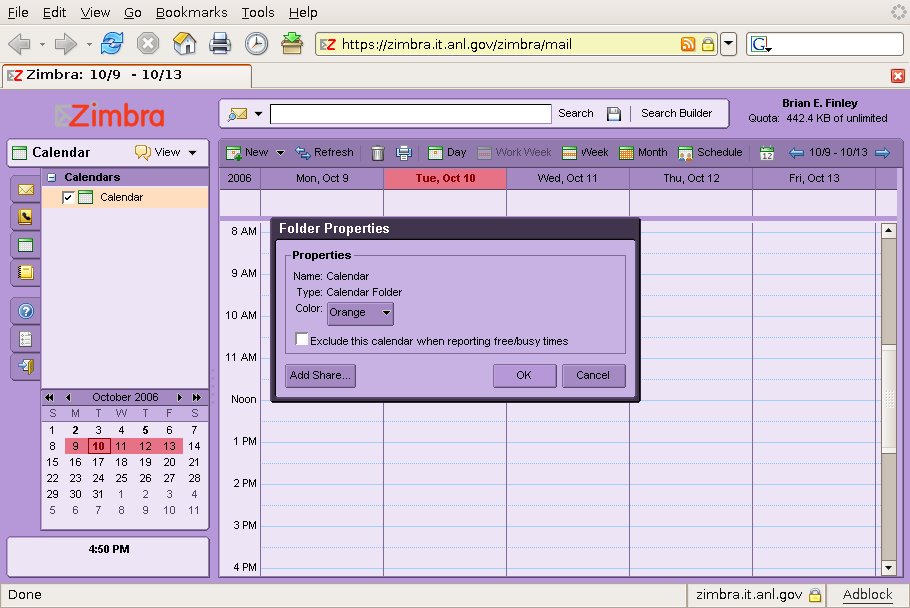
1. Right click on the calendar you wish to un-share, and select Edit Properties.
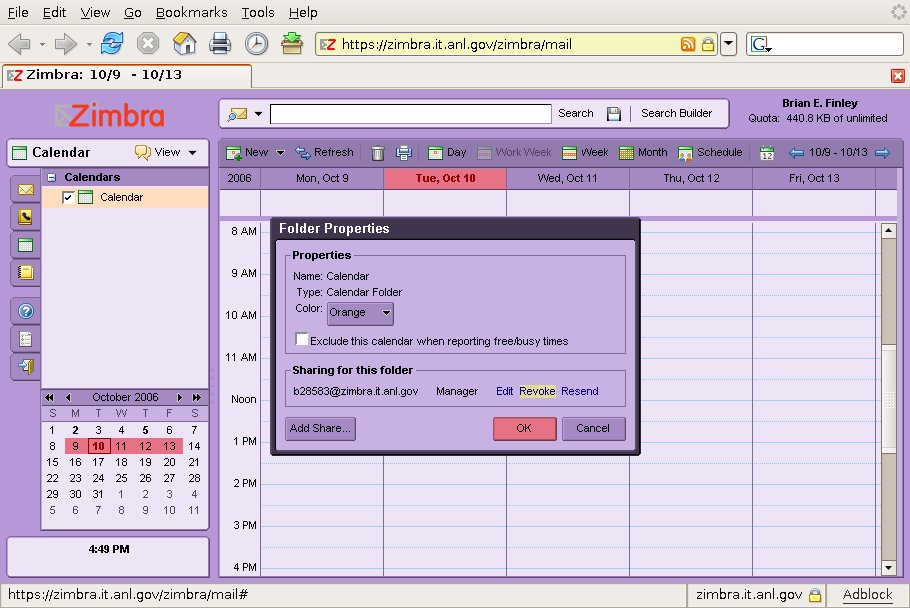
2. In the Sharing for this folder section of the Folder Properties dialog box, click revoke next to the email address of the person whose privileges you wish to revoke.
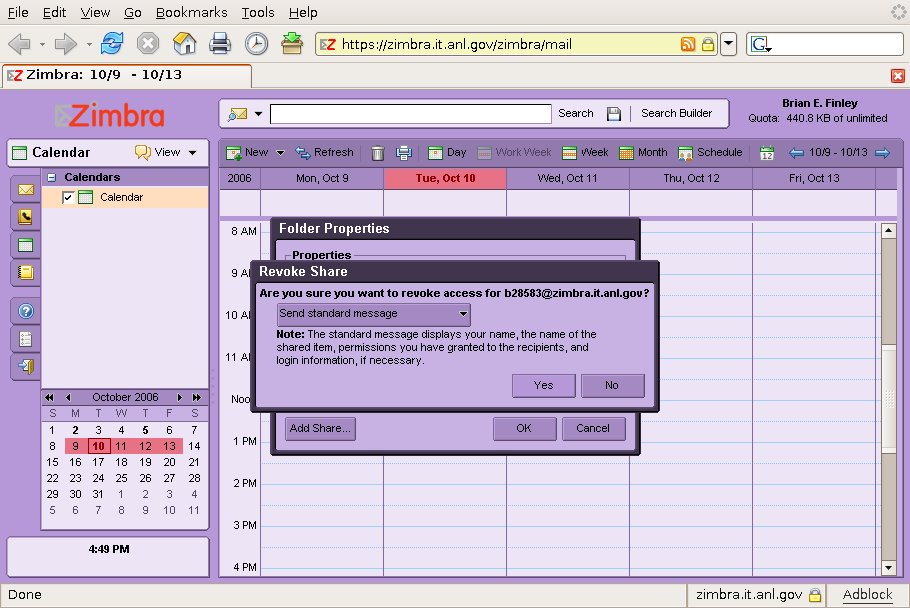
3. You will then be asked to confirm. Choose Yes.
4. After confirming the revokation of privileges from a certain person, note that that person's email address is no longer shown in the Folder Properties dialog box, then click on Ok.
5. As a final observation you'll see that your appointments, including any created for you by the person whose privileges you just revoked, remain on your calendar.
